New Africa/Shutterstock
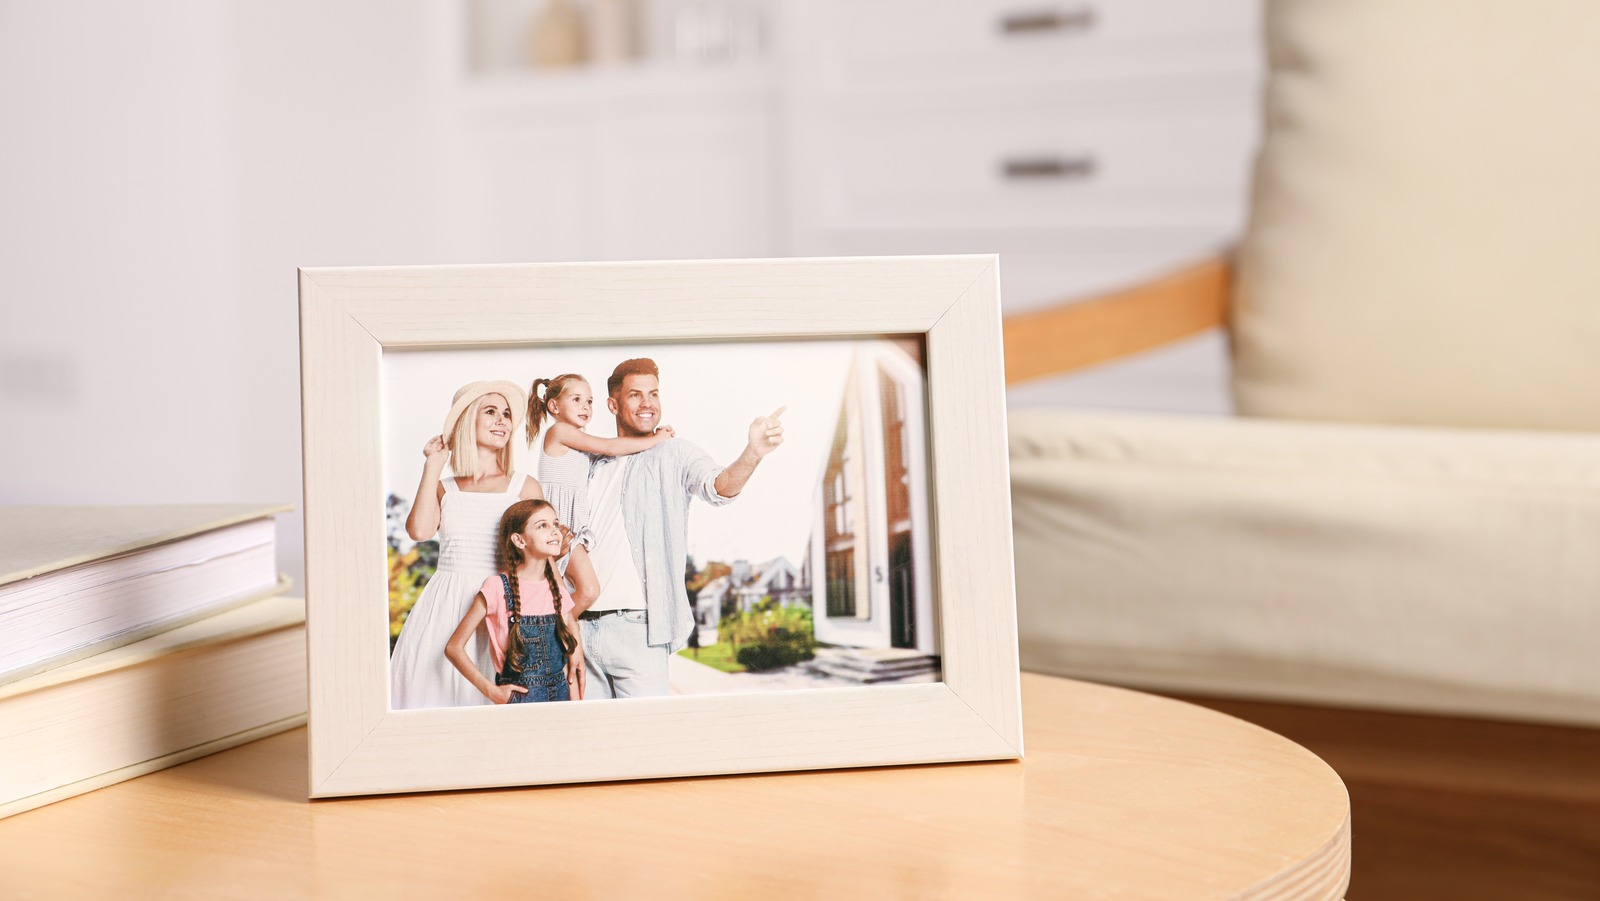
Gone are the days when snapping a photo suggested going directly to the photo-printing store to establish your movie and get your hands on the paper copies of your memories. At that time, it wasn’t uncommon to see walls filled with framed images, narrating whatever from ordinary minutes to turning point events. Quick forward to the digital age, when your valued pictures have actually moved to the cloud or are nicely submitted away on mobile phones, SD cards, and hard disk drives, hardly ever getting transformed into their physical types. This substantial shift implies those valuable memories aren’t as easily noticeable for you to take pleasure in every day.
If you wish to begin showing your treasured pictures once again however aren’t too crazy about having them all printed, a digital photo frame may be simply what you require. Do not wish to invest excessive on a piece of design? Going the DIY course is constantly a choice. Structure your own digital frame with a Raspberry Pi can be affordable, specifically if you currently have the core products on hand. In this guide, we’ll break down whatever you require to produce on this affordable Raspberry Pi jobclassifying the fundamentals into 3 primary locations: electronic and hardware parts (the physical parts you’ll include into your frame), software application (the programs that will bring your frame to life), and tools (the products you’ll require for assembly however will not become part of the last setup).
Electronic and hardware elements
The electronic and hardware elements you’ll require for your Raspberry Pi digital image frame depend upon how easy or intricate you ‘d like the job to be. At the bare minimum, you’ll require the Raspberry Pi itself, a display screen that might be anything from your old HDMI computer system display to the Pi’s main 7-inch LCD, a dependable power supply, a microSD card for the OS, and a Wi-Fi dongle or LAN cable television (for Pi designs missing out on integrated Wi-Fi assistance and require to be linked to the web or your home network).
If you discover this too standard and searching for a bit more flair, you can call it up a notch with a couple of tweaks occasionally utilizing sensing units. One designer incorporated an ambient light sensing unit to their Pi-based photo frame. This changes the screen’s brightness depending upon the light strength in the space. They likewise used capacitive touch sensing units for simple and easy navigation through the image collection and for closing down the Pi securely when required. Another designer included a PIR movement sensing unit to their frame to keep it asleep and just wake the screen up when somebody techniques.
When it comes to the devices, think about getting a case for your Pi. If, nevertheless, you’re dealing with the main 7-inch LCD, there are cases developed particularly for it, total with a relaxing area for the board. For other little screens without easily offered cases, you may wish to frame it up with something like wood, strong cardboard, and even a 3D-printed enclosure. Other Pi devices worth tossing into the mix is a heatsink for the Pi to keep the board cool while it’s running 24/7 and wall brackets or photo hanging packages if you intend on installing the frame on your wall.
Software application
Comparable to the electronic and hardware parts, the software application needed to run the task varies depending upon the job’s intricacy. The structure of your job will practically constantly be the Raspberry Pi OS. If you wish to keep it light and are comfy utilizing simply the command line, the Lite variation without the visual user interface need to suffice.
Obviously, you’ll likewise require the images themselves. There are 2 methods to set about sourcing your pictures. For an offline setup, you’ll need to by hand move them to the Pi. This can imply utilizing the scp command in the terminal, plugging in a USB drive, or pulling them straight from the web utilizing your internet browser or the wget command. Submit transfer programs like Submit Zilla or file-sharing services like Samba can likewise be available in useful. You’ll require an image audience to show your regional images. Choices consist of command-line audiences like fbi feh fimand PictureFrame and GUI image audiences like GLSlideshow
If, nevertheless, you’re leaning towards an online picture frame, there are jobs utilizing the wise mirror platform called MagicMirrorset up with the Google Photos module to show the pictures from your Google Photos account. You can likewise utilize the command-line tool Rclone to gain access to images from your Google Drive as recommended in this job
For the advanced setup with all the bells and whistles, you can code your own image audience rather. This permits you to include personalizations like video assistance, push-button control and uploads, shifts, and even collages. Python is a popular option (simply have a look at this jobhowever other languages like C# (as shown in this taskare likewise achievable. To make your code work, you ‘d require the plans for the sensing units and performances you’ll include.
Tools
Victorass88/Getty Images
To construct the fundamental digital photo frame, you normally will not need to search much through your tool kit. What you ‘d just require are a different computer system and SD card reader for setting up the OS to your micro SD card and a keyboard and mouse for establishing the Pi if you’re not utilizing a touchscreen display screen. For the advanced variation of the frame, get a soldering iron prepared as some parts might need a little bit of soldering if they get here without the adapters soldered on.
If you’re producing your own frame rather of purchasing one, you’ll require various tools depending upon what frame you choose. Wood frames naturally need woodworking tools like a saw for cutting to size, a ruler for exact measurements, a sculpt for the information, a hammer for assembly, and some sandpaper to ravel the rough edges. Cardboard frames, on the other hand, would just require art materials like scissors for cutting and glue for bonding.