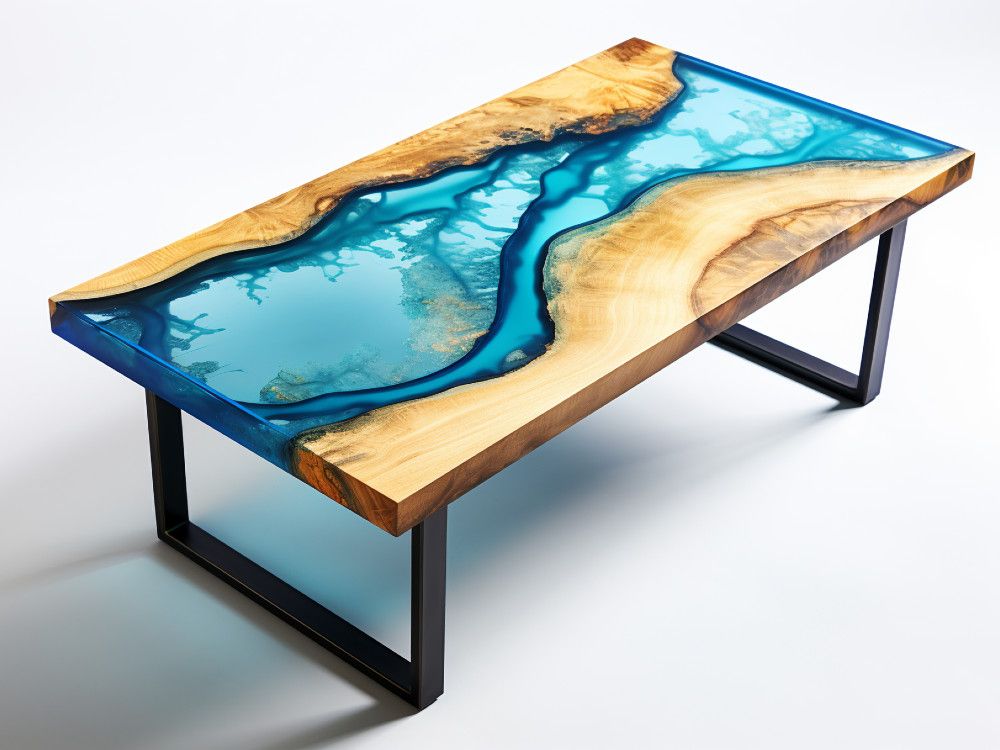
Q How can I get a smooth, glossy surface on the river tables I make? These are built with multiple pieces of wood, with liquid epoxy poured into the spaces between them before hardening.
A River tables are all the rage now, and it’s an approach that makes for a beautiful and unique table surface. But you’re right in aiming for a flawless finish. Even more than with all-wood table tops, river tables should be flawless.
THIS CONTENT IS RESERVED FOR SUBSCRIBERS ONLY
Subscribe now to read the latest news in your city and across Canada.
- Exclusive articles from Elizabeth Payne, David Pugliese, Andrew Duffy, Bruce Deachman and others. Plus, food reviews and event listings in the weekly newsletter, Ottawa, Out of Office.
- Unlimited online access to Ottawa Citizen and 15 news sites with one account.
- Ottawa Citizen ePaper, an electronic replica of the print edition to view on any device, share and comment on.
- Daily puzzles, including the New York Times Crossword.
- Support local journalism.
SUBSCRIBE TO UNLOCK MORE ARTICLES
Subscribe now to read the latest news in your city and across Canada.
- Exclusive articles from Elizabeth Payne, David Pugliese, Andrew Duffy, Bruce Deachman and others. Plus, food reviews and event listings in the weekly newsletter, Ottawa, Out of Office.
- Unlimited online access to Ottawa Citizen and 15 news sites with one account.
- Ottawa Citizen ePaper, an electronic replica of the print edition to view on any device, share and comment on.
- Daily puzzles, including the New York Times Crossword.
- Support local journalism.
REGISTER / SIGN IN TO UNLOCK MORE ARTICLES
Create an account or sign in to continue with your reading experience.
- Access articles from across Canada with one account.
- Share your thoughts and join the conversation in the comments.
- Enjoy additional articles per month.
- Get email updates from your favourite authors.
Article content
Article content
The best approach I know of involves incrementally finer sanding, then finishing up by power buffing. Begin with an 60-grit abrasive in a belt sander to level the surface, then continue with an 80-grit, 120-grit belt, a 180-grit belt, then 220-grit in a half-sheet inline sander or palm sander. Take your time with each grit. It should take 30 minutes of sanding with each one on a dining room-sized table.
It’s not unusual for air pockets in the epoxy to be revealed while sanding. Fill these with a pro grade of instant glue coloured with the same dye you used to colour the epoxy. Give the table a final sanding with 220-grit when the instant glue is dry. Now it’s time for a finish.
There are different options for finishing river tables, but catalyzed oil is a great choice. Mix the oil and accelerator as needed, then spread the mixture on the entire surface before wiping off all excess with a rag. Let the oil harden completely, then repeat. Your table will be smooth now, but not shiny. This is where buffing comes in.
I use Norton abrasive pads for this kind of work, with the pad placed underneath a random orbit sander. Start with medium, then switch to fine, then super fine. As you work, the table top will get shinier and smoother. Buff more or less depending on how shiny you want the surface.
Article content
————
Drilling a water well
Q When is the best time to drill a water well? The driller I’ve spoken to says he can drill any time, but the summer is best because the water table is lowest then.
A I think you’re getting good advice from your well driller. When snow starts to melt and spring runoff happens, ground water rises to its highest annual level. Winter levels can also be higher because of fall rains. If you had your well drilled now, or during the spring wet season, it could create the illusion of hitting water, but not at a depth that will be accessible during dry times. Once June or July is here, the spring wet period will be over, and your driller will have an accurate sense of how deep to go for year-round use.
————
Setting posts in soil
Q What’s the best way to set wooden posts in soil? I’m planning some outdoor work and don’t know if concrete is required.
A Unless there’s some special reason, I normally just bury posts with soil that’s compacted as it goes down into the hole. I put 4 or 5 inches of dirt into the hole around the post, then use the end of a sledge hammer handle to compact, then I add more, compact more, repeating until I get to the surface.
Using concrete instead of soil will hold wooden posts firmly, but I’ve found that concrete causes wood to rot faster. The only time I use concrete is for posts that need to be completely solid without some kind of bracing from other parts of a structure. Posts at the bottom of a deck staircase are one example because they need to remain rigid with nothing around them to help. Other than this, I find soil-only works best.
Steve Maxwell has set dozens of wooden posts in soil over the years. Visit him at baileylineroad.com for inspiration and information on hands-on living and home improvements.
Article content
